
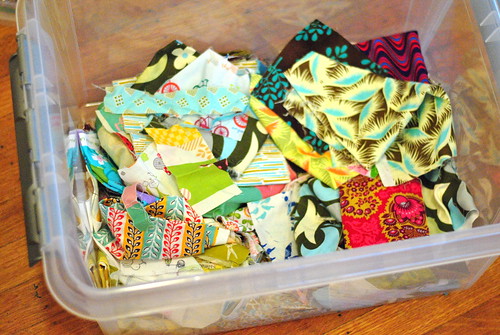
You know those fabric scraps that you keep around
because you feel bad throwing them away? Recently, our quilt guild did a
scrap swap, and I ended up with all of the extras in my big tote.
One
week at church, our kids were learning about upcycling and I remembered
the infamous bag of scraps. I explained to the kids that they could
make new items out of them. A special guest, the owner of Liz Alig (fair trade fashion) came and talked to the kids about the impact of empowering women in poverty to sew clothing.
The
class was intended for older kids, but my son Elliot (4 1/2 years at the time) was at my
side. He picked out a few scraps of truck fabric to take home. And then
he kept taking more, and more, and more! He couldn’t wait to get all the
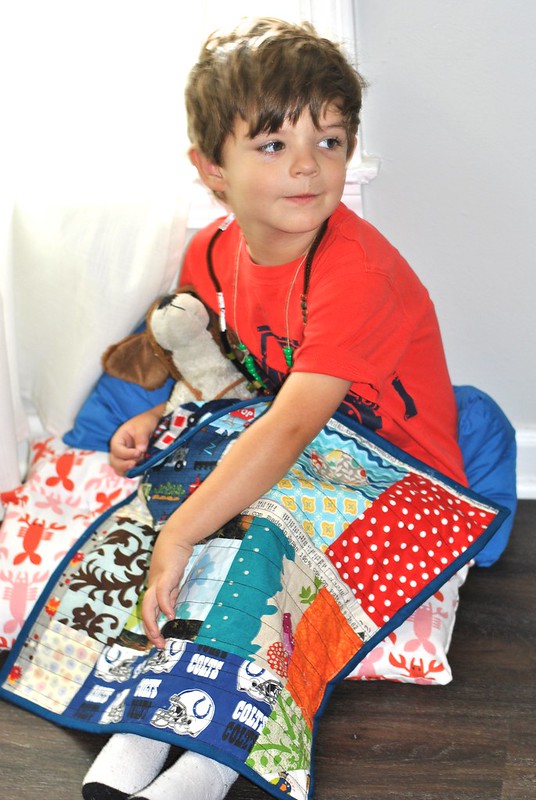
stringy scraps home and make a “bed” for his doggy and monkey. Most of
these scraps were tiny (selvages!), but I did manage to find some decent
size pieces.
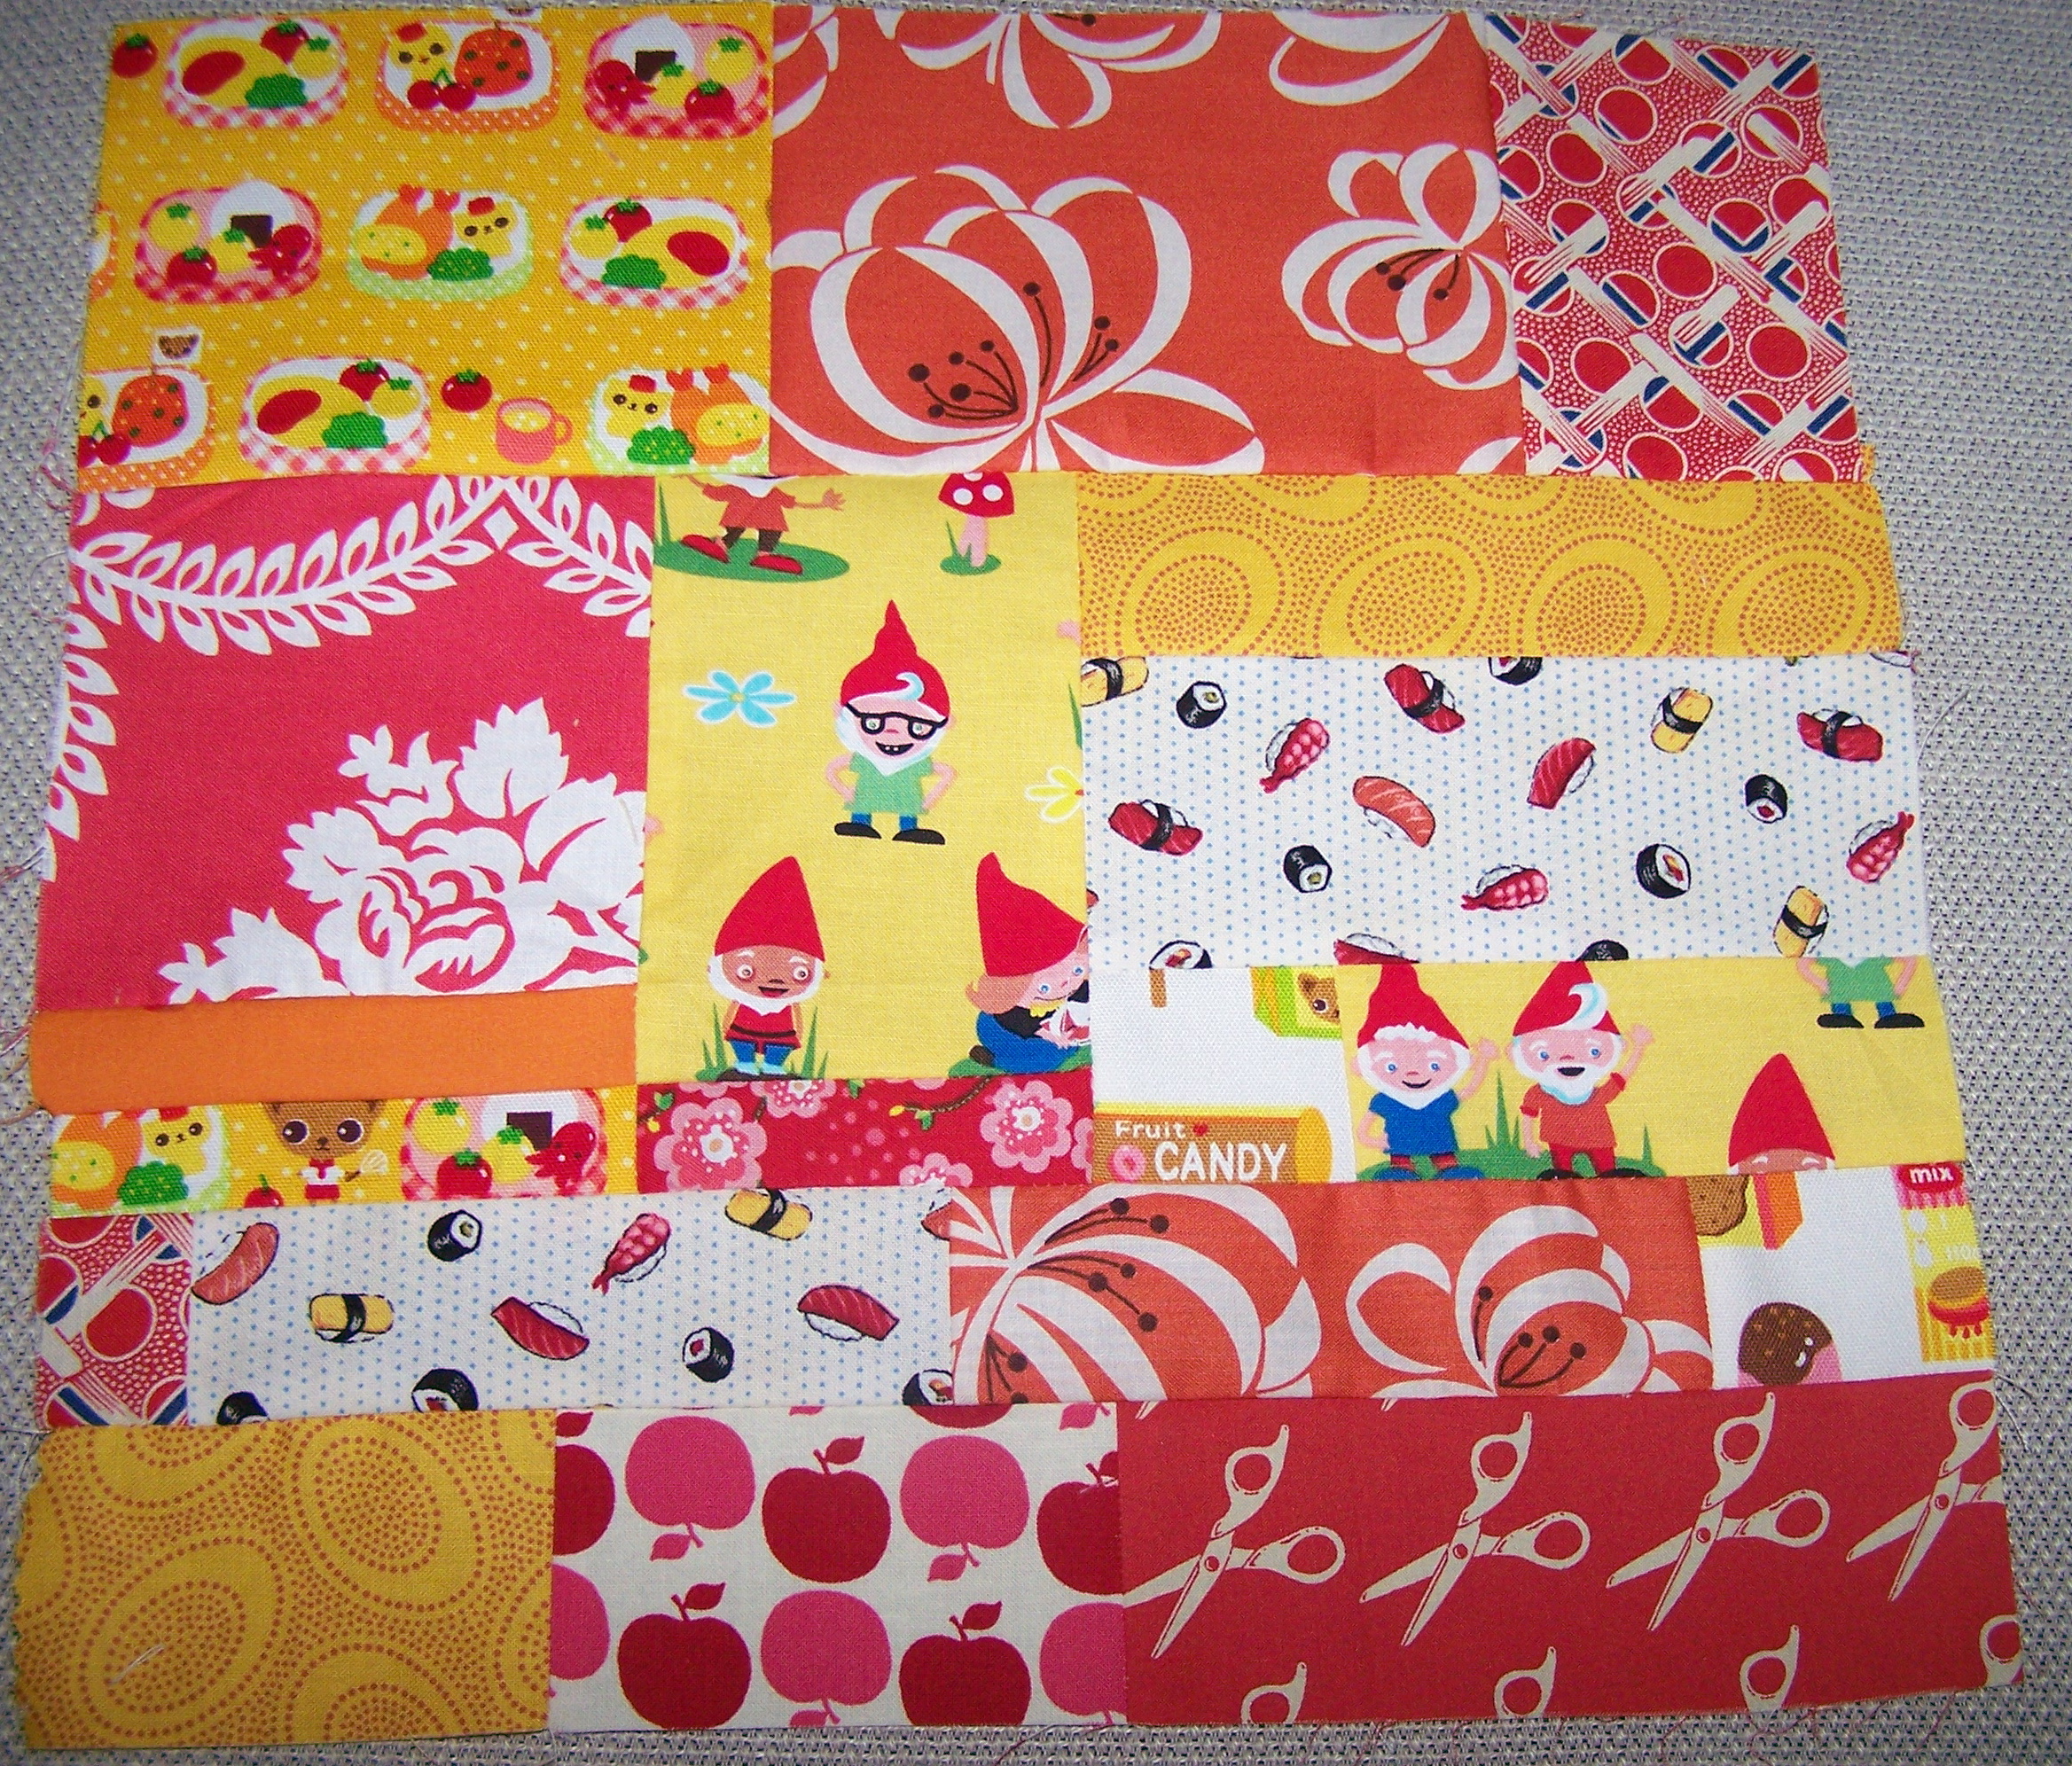
I trimmed the fabric into squares and
rectangles, and helped with the arrangement, but he picked all of the
fabrics himself, helped me piece them into a top, and helped with the
straight-line quilting.
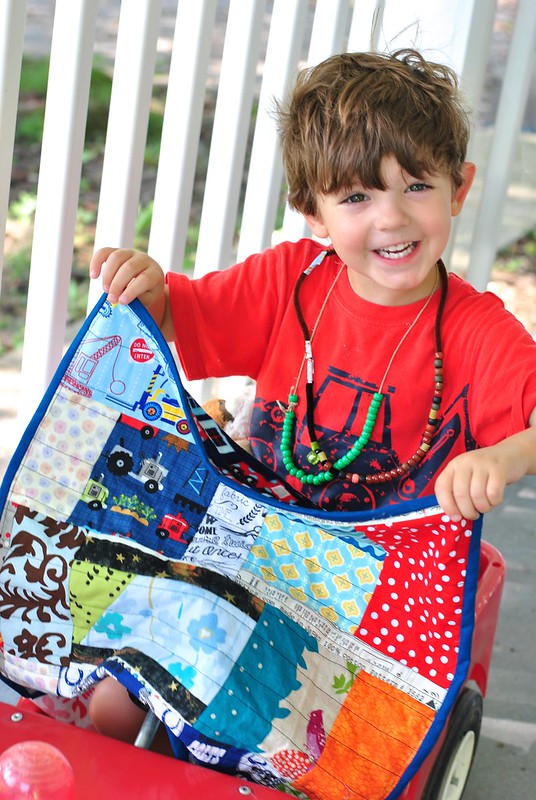
Sewing with kids isn’t always glamorous or
tantrum-free. But making this quilt with my son was pretty sweet. He loves his new stuffed
animal quilt that we’ve made together. The best part? You can truly “let go” of how it looks, because your child will be doing all the picking of fabrics!
Tips for Sewing a Scrap Quilt with Kids
1. Gather your fabric scraps and spread out on a table or on the floor. Ask your kids to choose at least 10 to 15 fabrics to start. This will help them
take ownership over the project and get even more involved! You can suggest some fabrics if they are shy about picking them out.
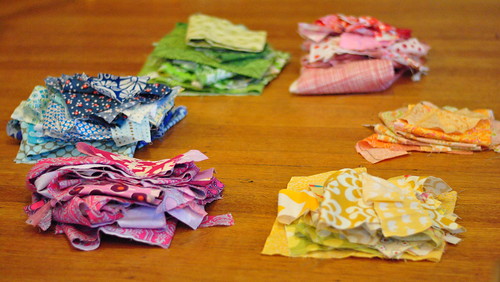
If you want to, you can work together to sort the scraps by color family!
2. Older kids can help hold the ruler and use the rotary cutter. Make sure to talk about safety before they get their hands in the mix. For younger kids, help them cut each fabric scrap into a square or rectangle. It doesn’t matter the size. You can just eyeball this! (The squares are purposefully not the same size so you don’t have to worry about matching up any seams later.)
3. Once the scraps are squared off, ask your child to arrange them into a design they like. The total quilt top can be any size you’d like, but we kept ours at about 20″ square.
4. Sew together two pieces that are next to each other. Then trim one edge of the unit straight after joining. Next choose another piece, and join it to the section you’ve just sewn. If you prefer, you could arrange the pieces in rows and sew each row. But remember that it’s not important to make this straight or perfectly aligned. Keep it random, scrappy, and fun!
Finishing Tips
1. You can use a piece of fleece or Cuddle fabric for the backing, to avoid adding an extra layer of batting inside. This two-layer quilt is even quicker to sandwich and sew together!
2. A can of basting spray helps you attach the layers together. Add a few safety pins as needed to hold together the layers.
3. Adults may need to help with the binding on this one! But kids can pick it up and help with ironing the binding if they are old enough. They may enjoy using colorful binding clips to attach the binding as well.

Thank you for visiting, and make sure to follow the Baby Lock Summer School series for more inspiration for sewing with kids. You’ll hear from Carolina Moore at Always Expect Moore next week for
her Summer School project, a fun and easy tote bag!